
Field guide
Sovereign Tower Walkthrough: Prologue–Cycle 8
One documented Groveshire route through the opening eight cycles.
Before following the route
Read your current quest requirements before copying an assignment. A Knight's equipment, injuries, traits and availability matter alongside their starting stats. Where the source revisits an outcome, that is identified below rather than presented as a result every first attempt will obtain.
The opening below supports Silgur's recruitment. If your priority is the Gavault rebellion and Brunhilda or Tarcus, preserve the county decision before following the Groveshire choice. The beginner guide explains the daily loop; Demon Power explains why another timeline can offer different dialogue.
Prologue: the opening attacker
The prologue account introduces Ermen and the audience system before the confrontation that shapes your Sovereign. During the Leper sequence, the source follows the cat, provokes the Knight, hides behind a rock, removes the bandages and trips the attacker.
For the route used here, spare the attacker and escape. That mercy choice preserves Oliver's later recruitment. Killing him closes that route in the current timeline; it is not proof that Oliver is permanently inaccessible after a corrected rewind.
The source disables Sovereign Mode to use manual saves. Check your chosen mode before expecting to reproduce its save-and-retry approach.
Cycle 1: Angelica and Carina's hammer
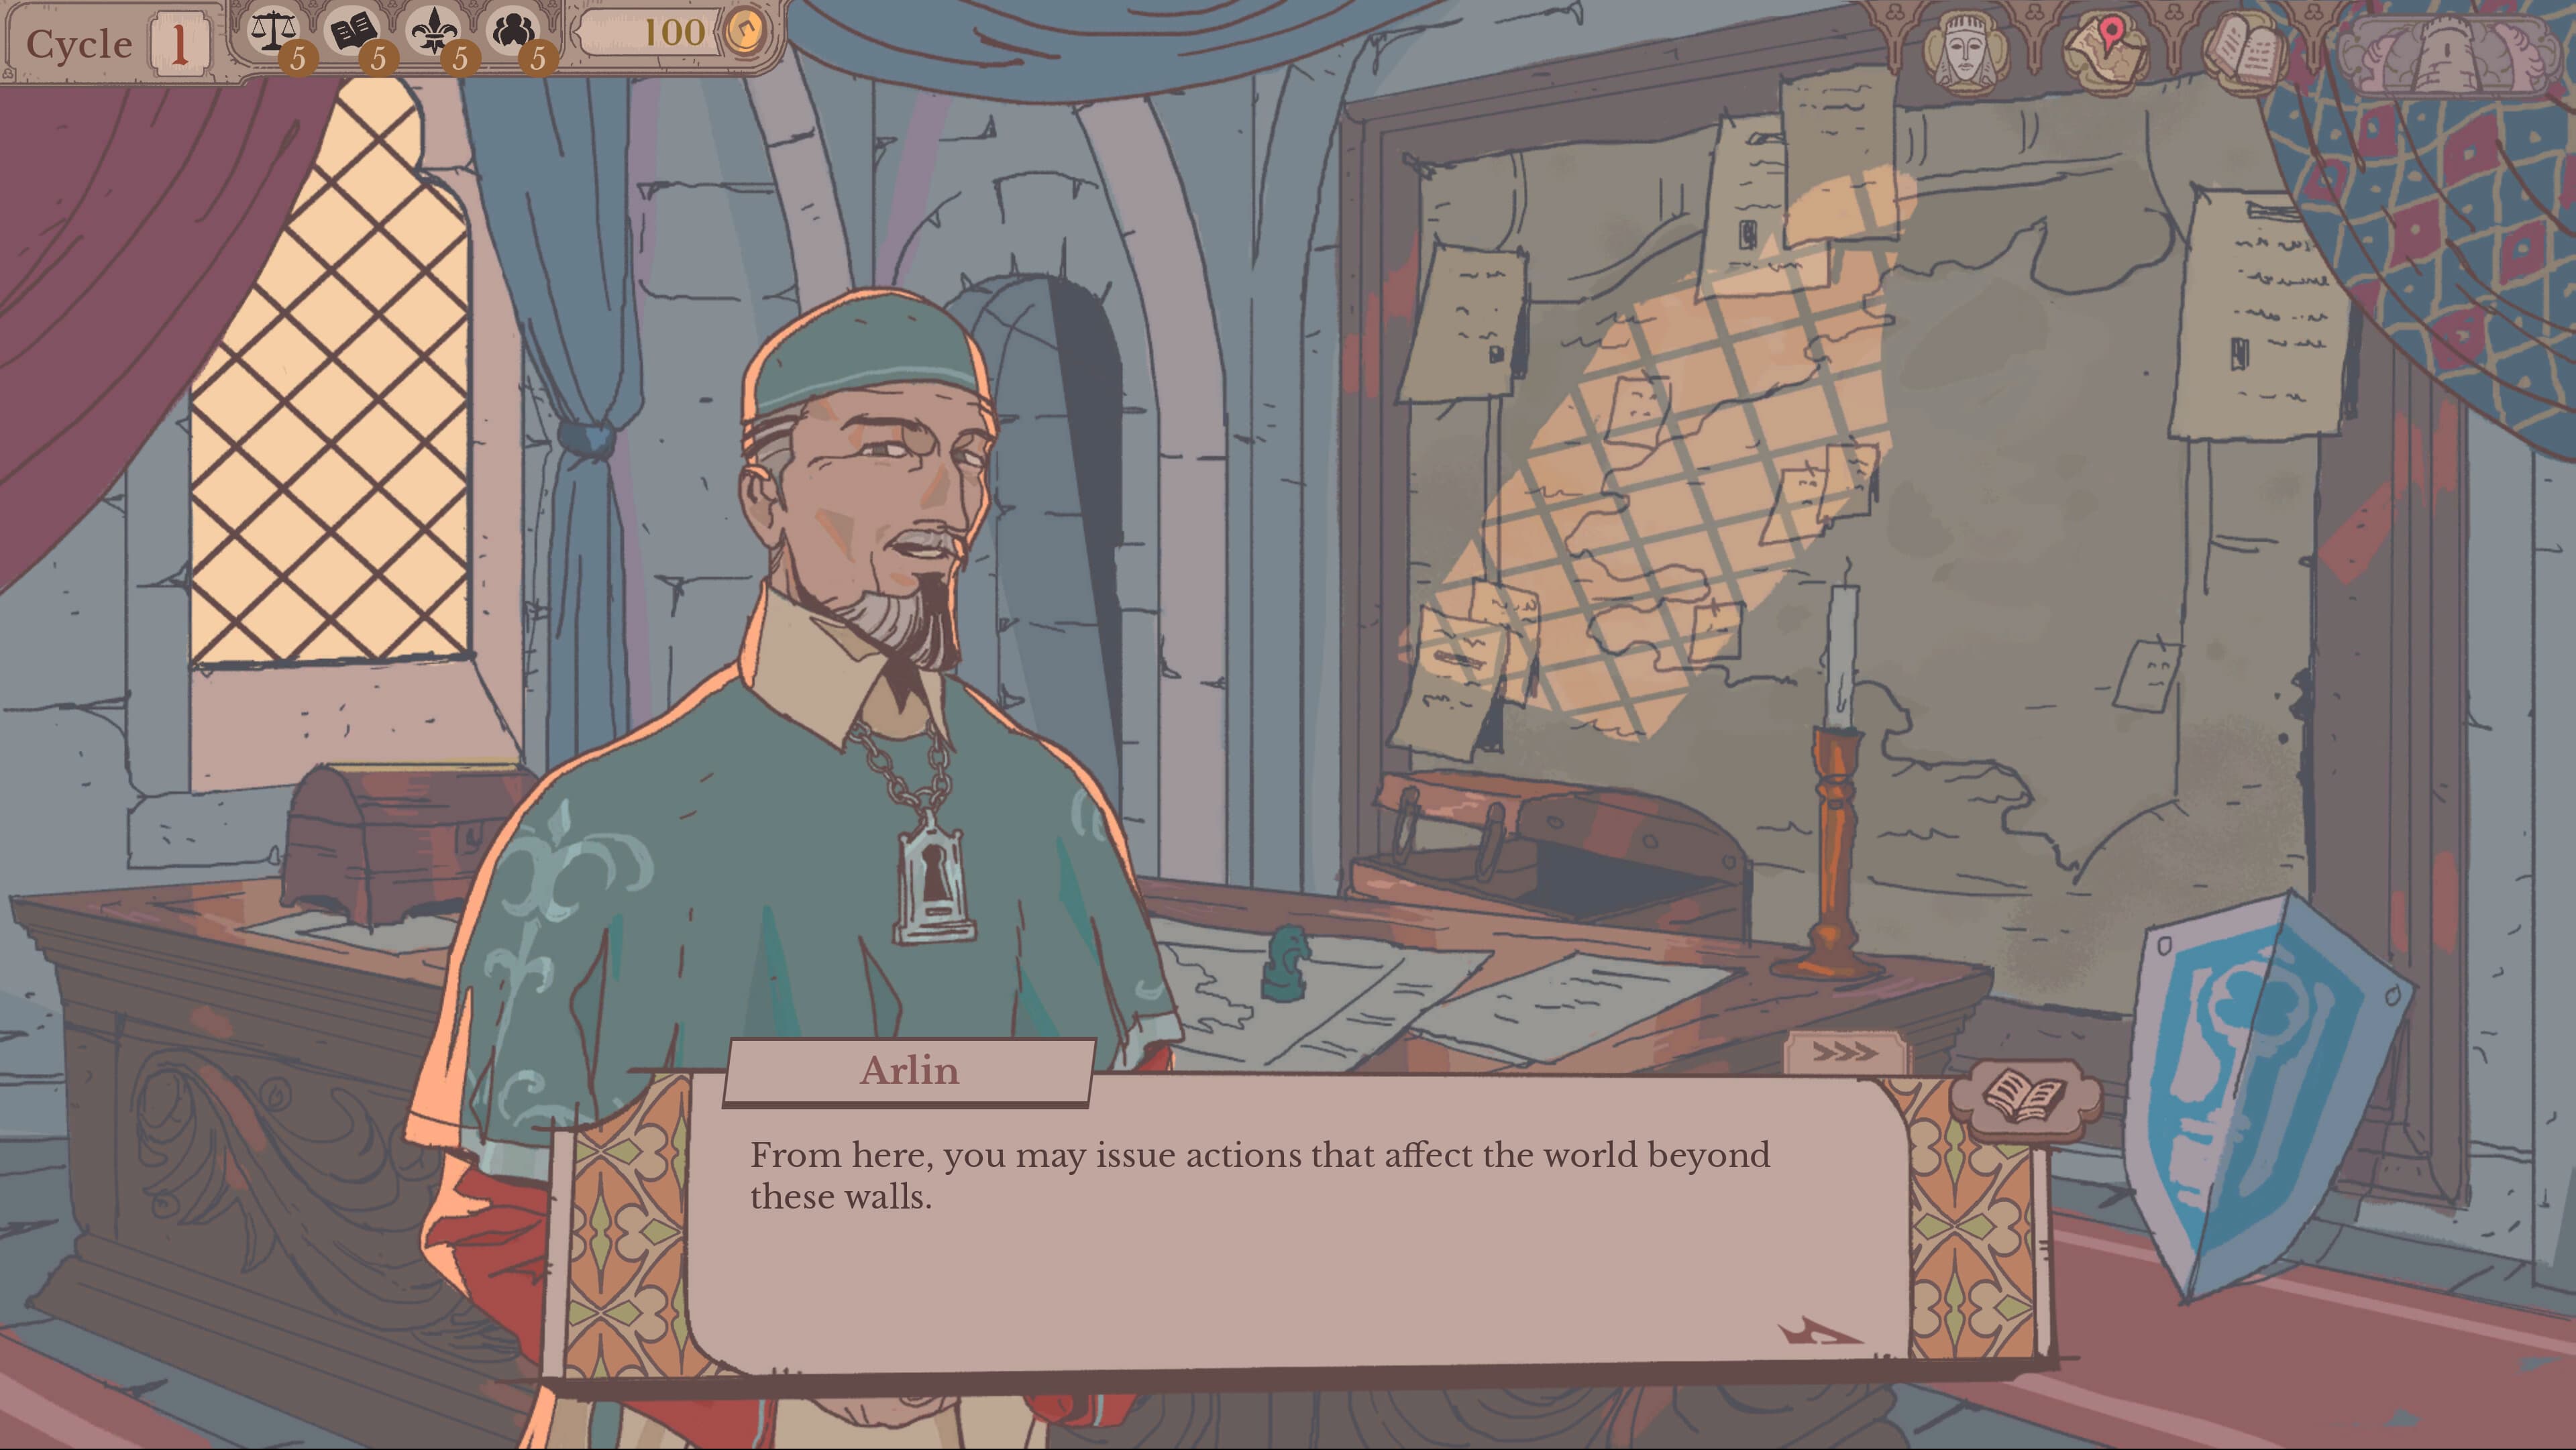
Accept Angelica at the Round Table and take Carina's hammer-recovery request. The Lady's introduction leads to the Gallery and the Tower's annexes. Speak with Arlin around the Map Room introduction and check the available conversations before ending the day.
In the Kitchen, the source praises Angelica's cat and learns her Animal Lover trait. Angelica then handles the hammer assignment. The important progression is the recovery report that enables Carina's next interaction; the exact reward and damage in one playthrough are not guaranteed.
Source: Cycle 1.
Cycle 2: choose Groveshire and open the Forge
Visit the Crypts when introduced to the Demon. At the county confrontation, this route supports Arnold and Groveshire rather than Damian and Gavault. Accept Goberto when he arrives.
Carina's returned hammer leads to the Gallery's Forge unlock. Visit the Forge and inspect repairs before assigning damaged Knights. This is also the starting context for the Carina romance entry, although the hammer quest alone does not establish a romance.
Chester's Goose request and the Bloody Magpie create competing jobs. The author first loses Goberto on the Magpie and rewinds to change the assignment. Do not treat that failed dispatch as a safe recommended step. Check each job's deadline and traits; preserve Goberto if you want his own route rather than Dulahan.
Source: Cycle 2.
Cycle 3: Gwendan, Intendancy and Face the Horde
Guilhelm introduces Groveshire's Beast problem and the Face the Horde quest. Alwena joins the Tower staff; open the Intendancy from the Gallery to begin investigating Knights. The source investigates Angelica. Accept Gwendan at his early audience.
For Face the Horde, the author compares several Knights and prefers Goberto with a Silver Sword providing Magic. His Hunt preference helps even though his base Magic is zero. The recorded alternatives still complete with damage, so the example demonstrates a trait-and-equipment comparison, not a guaranteed flawless solution.
The road-to-Grest petition costs money in the source's route. Keep the coming ultimatum in mind before approving optional spending.
Source: Cycle 3.
Cycle 4: choose and track the first ultimatum
The author chooses the rally the People ultimatum. Its displayed requirements are Merchants 8, People 14, 300 Gold and one county ally, with four cycles available. Copy the requirements from your own screen if they differ.
Prioritise Guilhelm's river research and other expiring jobs. The source discusses both that research and the Haunted Lighthouse with Gwendan; roster availability must be checked before treating both as same-cycle assignments. Reserve a suitable Knight for the earlier deadline and queue or reassign the other job.
Allowing the nomads to stay improves People at a cost to Nobles in this route. Consider whether that fits the ultimatum you actually selected.
Source: Cycle 4.
Cycle 5: recruit Ursula and resolve the Beast
Accept Ursula and review the Kill the Beast assignment. The source uses Gwendan and Ursula, with Strength equipment to cover the gap. For Silgur's later candidacy, preserve the kill outcome and avoid assigning Angelica to the Beast branch.
Other audiences include Grelin and a request involving the Nobles. The Kitchen introduction opens meals; the author uses a Croque for Gwendan. Check your treasury after optional food and repairs.
In the documented run, People has still not reached the selected ultimatum's target at this point. Recruiting a Knight or completing the Beast quest does not by itself mean the ultimatum is finished.
Source: Cycle 5.
Cycle 6: secure the county alliance
Guilhelm's return advances the Groveshire alliance and Beast rewards. Recheck all four ultimatum requirements, especially the treasury after spending.
The route investigates Ursula and follows her Firetwig conversation. Angelica's conversations reveal a Ghost dislike, another reason to examine tags instead of relying only on stat totals. The author's assignments include Pirates for Gwendan and Goberto, the Fountain for Angelica, and Oracular Cheese for Ursula.
Those selections depend on the author's returned Knights and equipment. Use them as comparisons for the active quest sheets; do not dispatch someone who is still away because the day number matches.
Source: Cycle 6.
Cycle 7: welcome Silgur and prepare the roster
The documented run has met the ultimatum. Silgur then joins after the Groveshire Beast route, and the author assigns him a Beaconsbury Hunt. Other work includes Ask the Nobles for Gwendan, Silver Feathers for Angelica, Woods Investigation for Ursula and Bucolic Diplomacy for Goberto.
The Hooded Peasant audience includes an assassination approach. The author's Wisdom-based response belongs to that playthrough's available choices; read your own dialogue rather than assuming the option is always unlocked.
Use the remaining Tower conversations to learn dislikes, including Ursula's reaction to Magic Ritual. Prepare the available Knights before the next Dragon Knight confrontation.
Source: Cycle 7.
Cycle 8: the Dragon Knight ambush
Silgur proposes an ambush, and the author chooses that approach over a direct confrontation. The reported assignment uses additional Knights, including Gwendan and Angelica, with the quest requiring a three-Knight party. Check whether Silgur is already committed to the quest before filling the remaining slots.
A Great Success awards a Dragon Heart in the source's run. That is a reported reward, not a promise that the same named party wins with any equipment. Check the actual result before planning Silgur's Dragon Heart follow-up.
The day also includes merchant-tax decisions, Rupin's Map Room invitation and Ursula's Woods return. Avoid spending or scheduling choices that leave the ambush short of requirements.
Source: Cycle 8.
Where this walkthrough stops
Cycle 8 completes this guide's scope. Continue with the Knight directory for later candidates, Golden Key before the relevant Act III opportunity, and the endings guide when you are ready for late-game spoilers.
The source articles predate patch 1.1.0. The official patch context is accounted for in linked character guides, but these assignments have not been replayed by this wiki on that version.